Windows 10/11下使用VSCode进行Fortran程序开发
内容目录
参考测试系统与软件版本
- Windows 11 22H2 22621.2134
- GNU version 12.2.0 (x86_64-posix-seh-rev0, Built by MinGW-W64 project)
- VSCode version 1.81.1 (user setup)
- Modern Fortran(VSCode Plugin) v3.2.0
- C/C++(VSCode Plugin) v1.17.5
开始前准备
- 确认VSCode已安装并可以正常使用
- 确认gfortran编译器已安装并已添加进系统环境变量(或用户环境变量),如下
$ gfortran -v
Using built-in specs.
COLLECT_GCC=E:\SDK\MinGW\gnu_x64-12.2.0-posix-seh-rt_v10-rev0\bin\gfortran.exe
...
gcc version 12.2.0 (x86_64-posix-seh-rev0, Built by MinGW-W64 project)
VSCode的相关配置
安装C/C++与Modern Fortran扩展

新建或打开文件夹作为Fortran程序开发的工作区
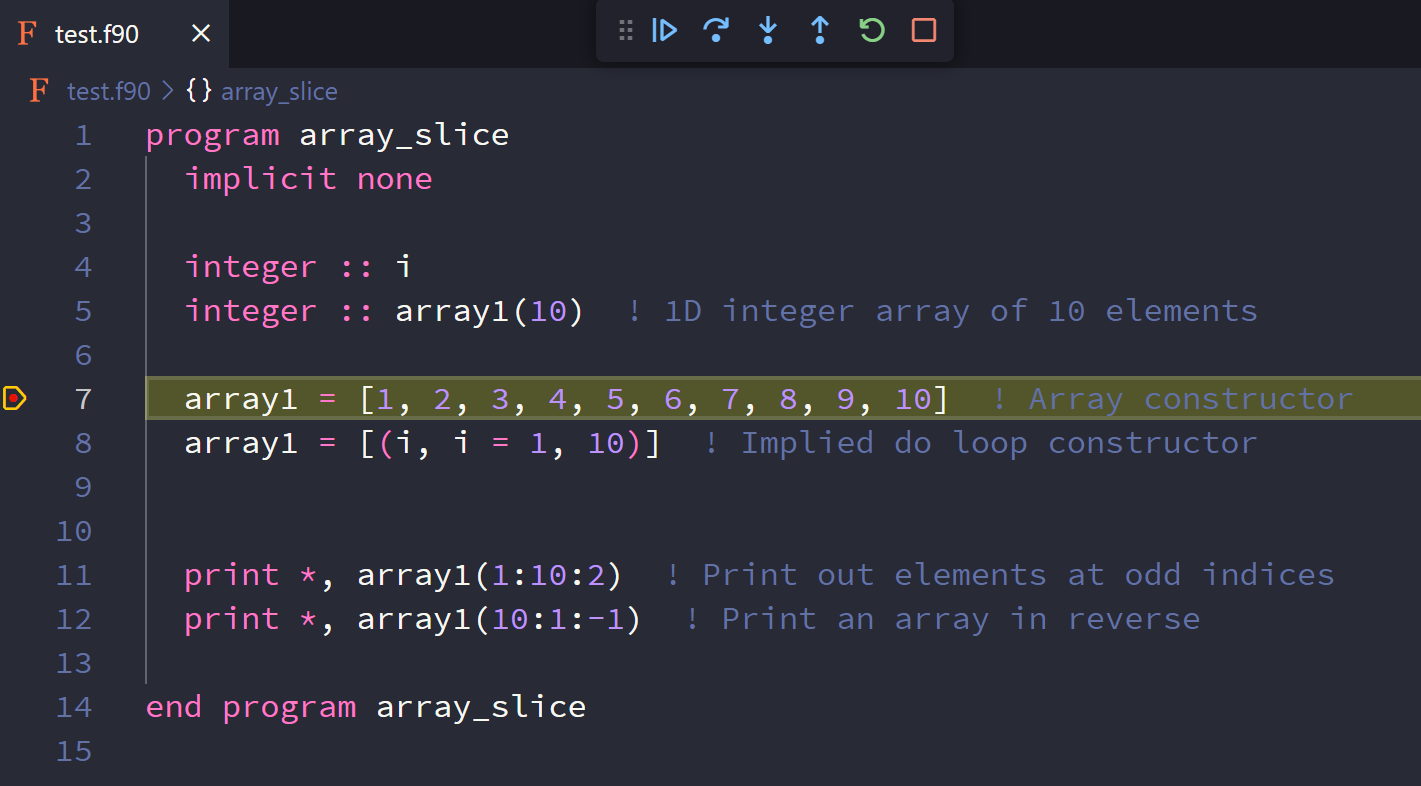
新建一个测试文件
test.f90,例如program array_slice implicit none integer :: i integer :: array1(10) ! 1D integer array of 10 elements array1 = [1, 2, 3, 4, 5, 6, 7, 8, 9, 10] ! Array constructor array1 = [(i, i = 1, 10)] ! Implied do loop constructor print *, array1(1:10:2) ! Print out elements at odd indices print *, array1(10:1:-1) ! Print an array in reverse end program array_slice在工作区的根目录中创建
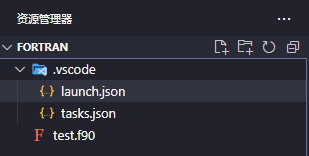
.vscode文件夹,并在其中创建launch.json与tasks.json两个文件,此时工作区文件结构如下图所示

复制一下内容到两个文件中,其中路径
E:/SDK/MinGW/gnu_x64-12.2.0-posix-seh-rt_v10-rev0/bin要修改为你自己MinGW的路径
launch.json:{ // 使用 IntelliSense 了解相关属性。 // 悬停以查看现有属性的描述。 // 欲了解更多信息,请访问: https://go.microsoft.com/fwlink/?linkid=830387 "version": "0.2.0", "configurations": [ { "name": "Fortran: Debug (launch)", "type": "cppdbg", "request": "launch", "program": "${fileDirname}\\${fileBasenameNoExtension}.exe", "args": [], "stopAtEntry": false, "cwd": "${fileDirname}", "environment": [], "internalConsoleOptions": "neverOpen", "externalConsole": false, "MIMode": "gdb", "miDebuggerPath": "E:/SDK/MinGW/gnu_x64-12.2.0-posix-seh-rt_v10-rev0/bin/gdb.exe", "setupCommands": [ { "description": "为 gdb 启用整齐打印", "text": "-enable-pretty-printing", "ignoreFailures": true } ], "preLaunchTask": "gfortran.exe build active file" } ] }tasks.json:{ "tasks": [ { "type": "shell", "label": "gfortran.exe build active file", "command": "gfortran.exe", "args": [ "-g", "${file}", "-o", "${fileDirname}\\${fileBasenameNoExtension}.exe" ], "options": { "cwd": "E:/SDK/MinGW/gnu_x64-12.2.0-posix-seh-rt_v10-rev0/bin" } } ], "version": "2.0.0" }
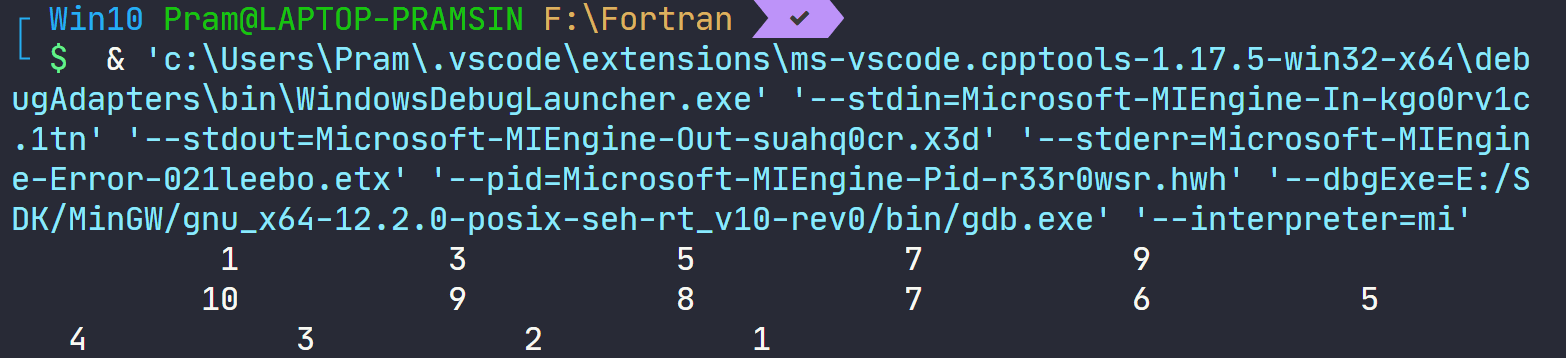
运行与调试
打开
test.f90文件,按下Ctrl+F5,即可编译文件并运行文件得到运算结果

在文件某一行的打上断点,按下
F5,可以进入调试运行,

其中上方的功能按钮解释如下- 继续:运行程序到下一个断点
- 逐过程:单步运行程序
- 单步调试:单步运行程序,如果遇到函数或子程序,会进入函数运行
- 单步跳出:跳出当前的函数区域,进入上一级调用
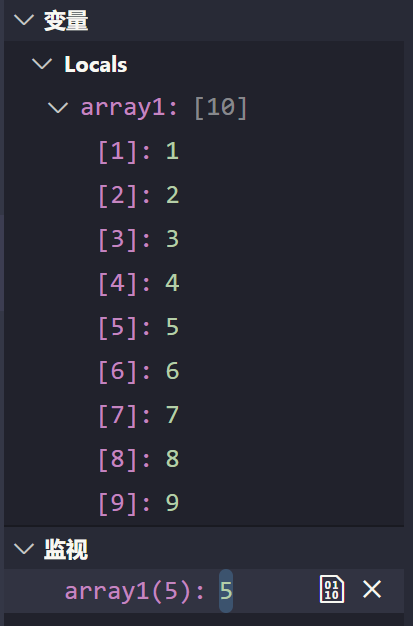
此外在侧边栏的运行与调试中,可以实时监控当前的变量值,

调试是一个非常重要的功能,建议大家无论使用何种编程语言,都要学会如果进行调试,这对大家代码编写与代码审查能力的提高很有帮助
一些小技巧
- 鼠标悬浮在函数或变量名称上一段时间,可以看到函数或变量的说明

- 按
F12可以跳转到变量/函数的定义位置/引用位置/实现位置 - 按
Alt+Shift+F可以对代码进行格式化(需要在系统的python环境中安装findent,并将findent.exe添加到系统环境变量中)
- 鼠标悬浮在函数或变量名称上一段时间,可以看到函数或变量的说明
(可选)可以安装扩展
Code Runner,然后在设置中选择

再打开test.f90文件,点击右上角的运行按钮,或者快捷键Ctrl+Alt+N直接运行(但是不能进行调试,只能用于快捷运行)